However, I had a completely different scenario, and it doesn’t add up in my case. I will show you how to fix the AMD Control Panel and graphics drivers in Windows 11. Do not miss a single part in the tutorial since I have shown you how to resolve the problem in Win 11.
1. Roll Back Graphics Drivers
I want to show you how to roll back graphics card drivers and stop Windows from updating it automatically from its library. The administrator account is required to roll back drivers in the Win 11 machine.
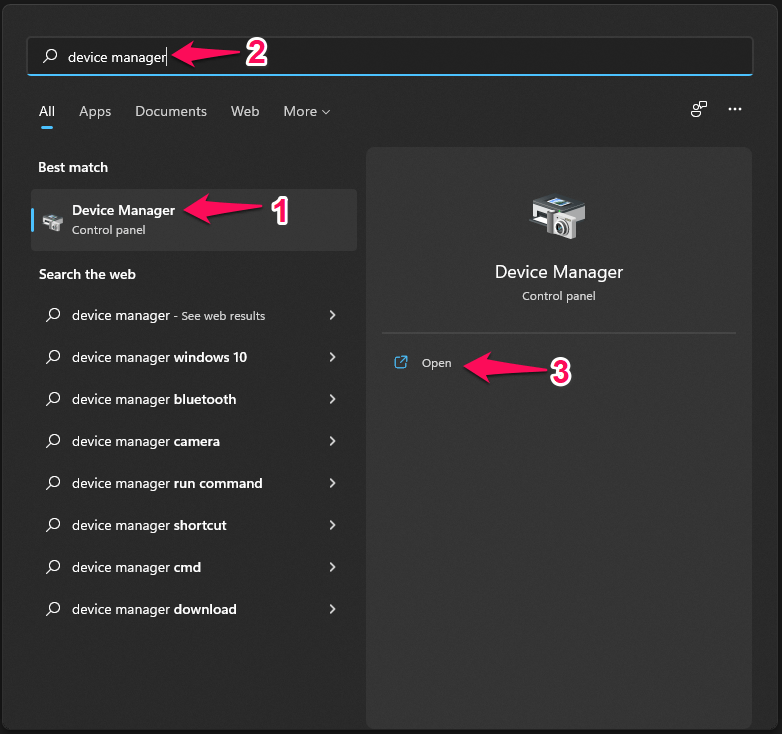
Press the “Start” key.Search for “Device Manager” in the search bar and open it.
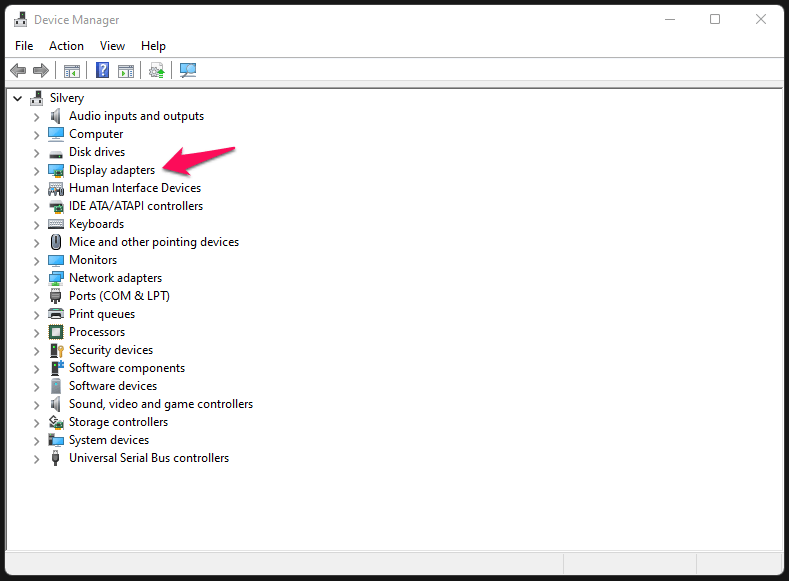
Click on the drop-down icon beside “Display Drivers”.
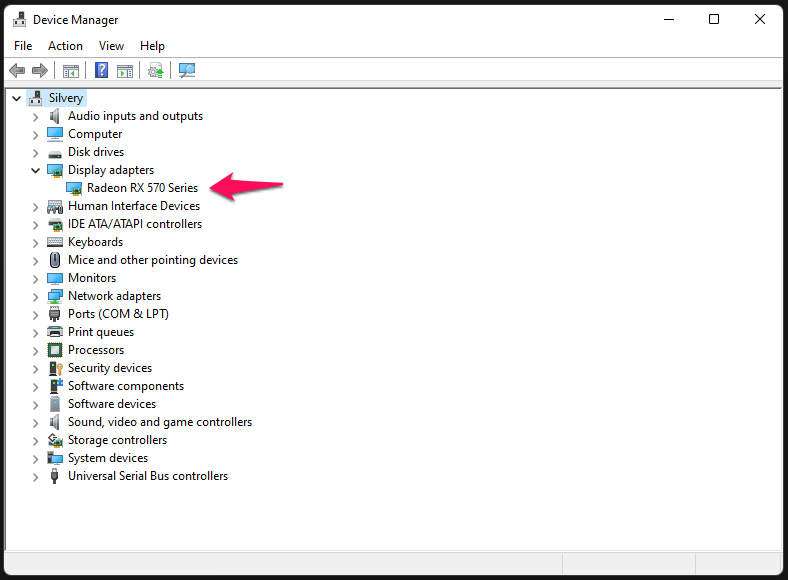
Your GPU will show up under “Display Drivers”.
Choose discrete GPU in the next step. Most of the integrated graphics are low-end chips, and they don’t come with advanced features in them.
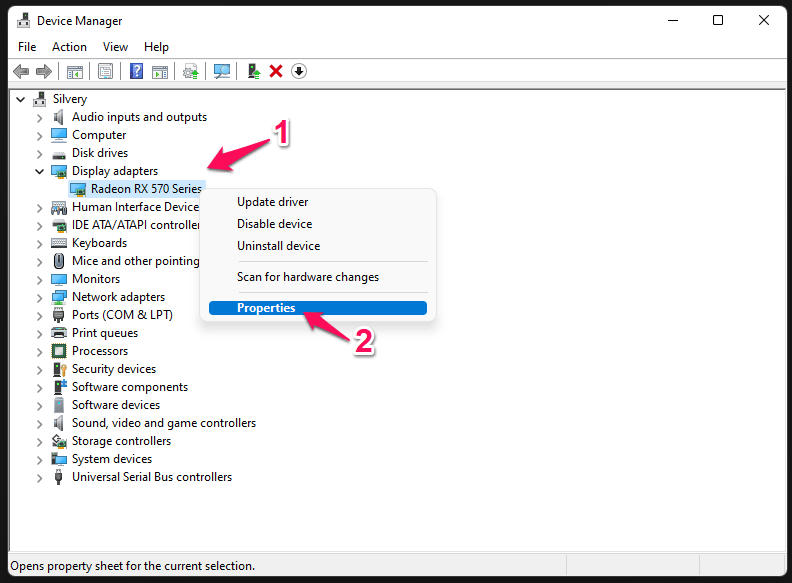
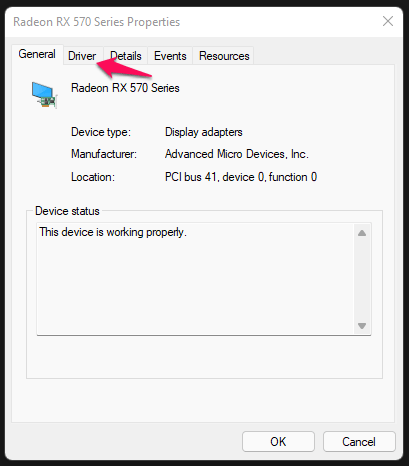
Select GPU component, then mouse-click to select “Properties”.
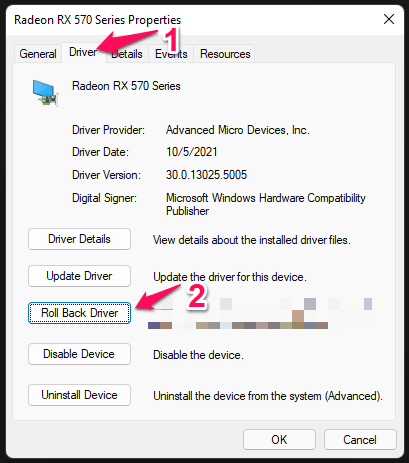
A new window shows up on the screen, and select “Driver” from the main menu.
Click on the “Roll Back Driver” option.
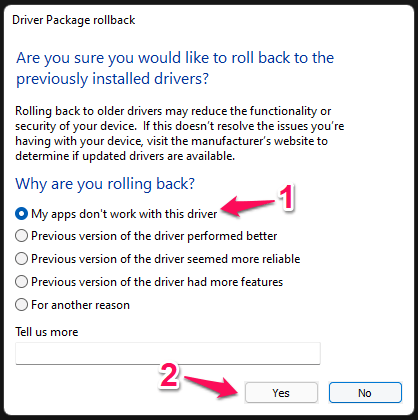
Choose an option on why you are rolling back the driver, then click on the “Yes” option.
It’s a feedback form that informs the Windows Update and GPU vendor to improve parts of the upcoming drivers.
2. Reinstall GPU Drivers (Recommended)
I always uninstall GPU and Audio drivers completely from the machine and reinstall the updated drivers from the official site. My method will impact your machine performance positively and resolve the “The Version of AMD Radeon Software you have launched is not compatible with your currently installed AMD graphics driver” error. I have separated the tutorial into four parts, so you don’t confuse yourself.
#1 Preparation
Download GPU drivers from the laptop manufacturer site. You should head to the motherboard manufacturer website and download the GPU drivers from the official site. Download Display Driver Uninstaller, otherwise known as DDU in the community. DDU is an open-source program that I have been using for almost three years.
#2 Boot into Windows Safe Mode
Windows Safe Mode loads Microsoft drivers only, and it is an integral part of the operating system. I solved several OS-related problems in Safe Mode, and it won’t harm your computer.
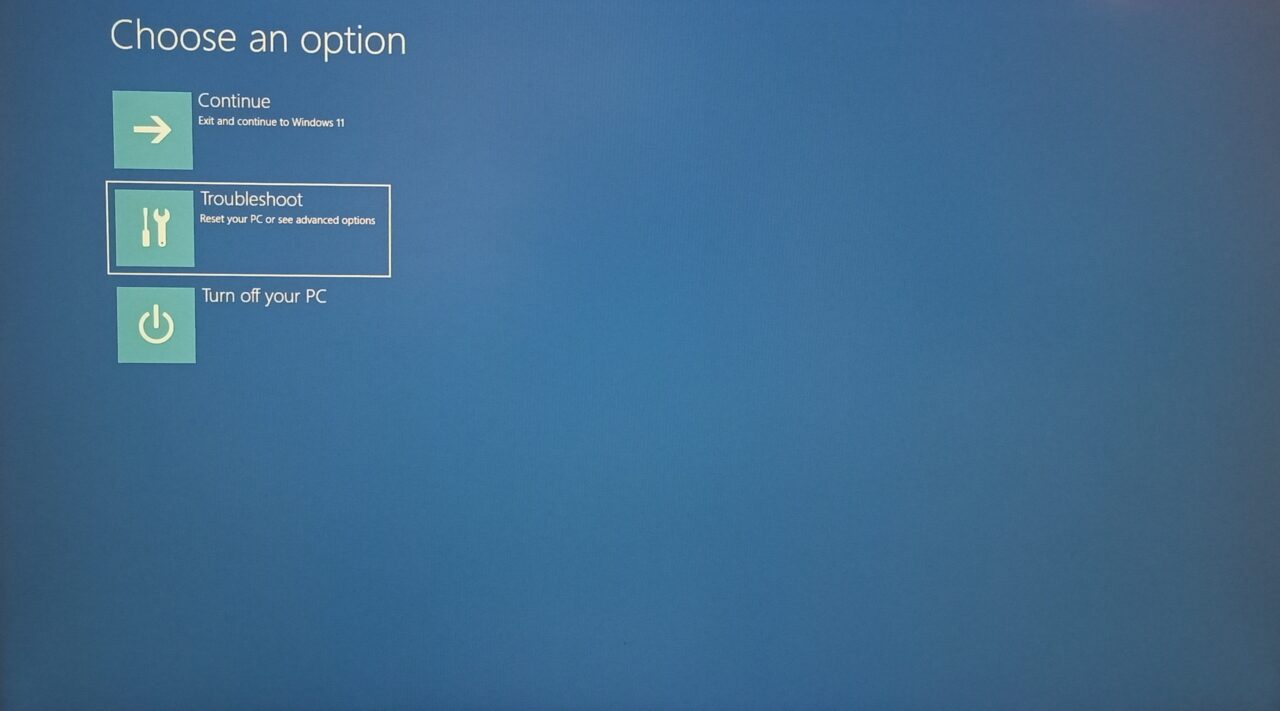
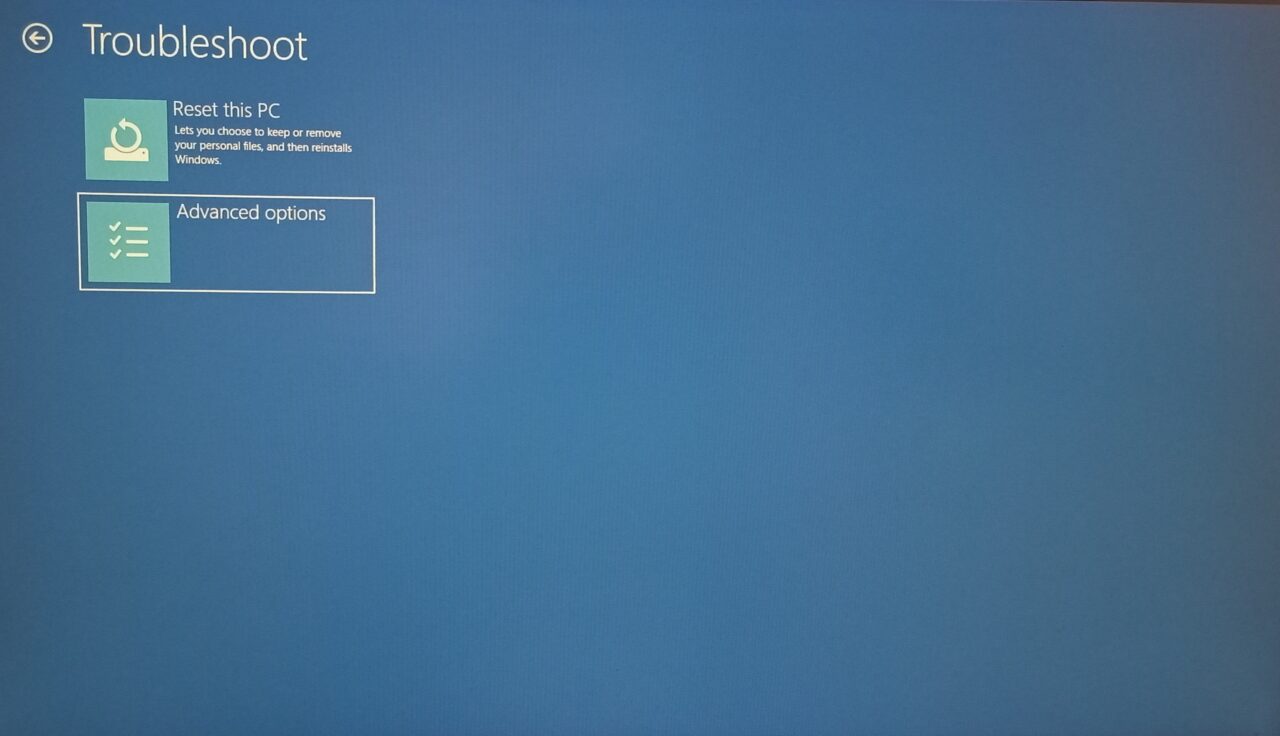
Restart Windows PC, while holding the Shift key.Your PC will start, and “Recovery Options” will show up on the screen.Choose “Troubleshoot” and press the “Enter” key.
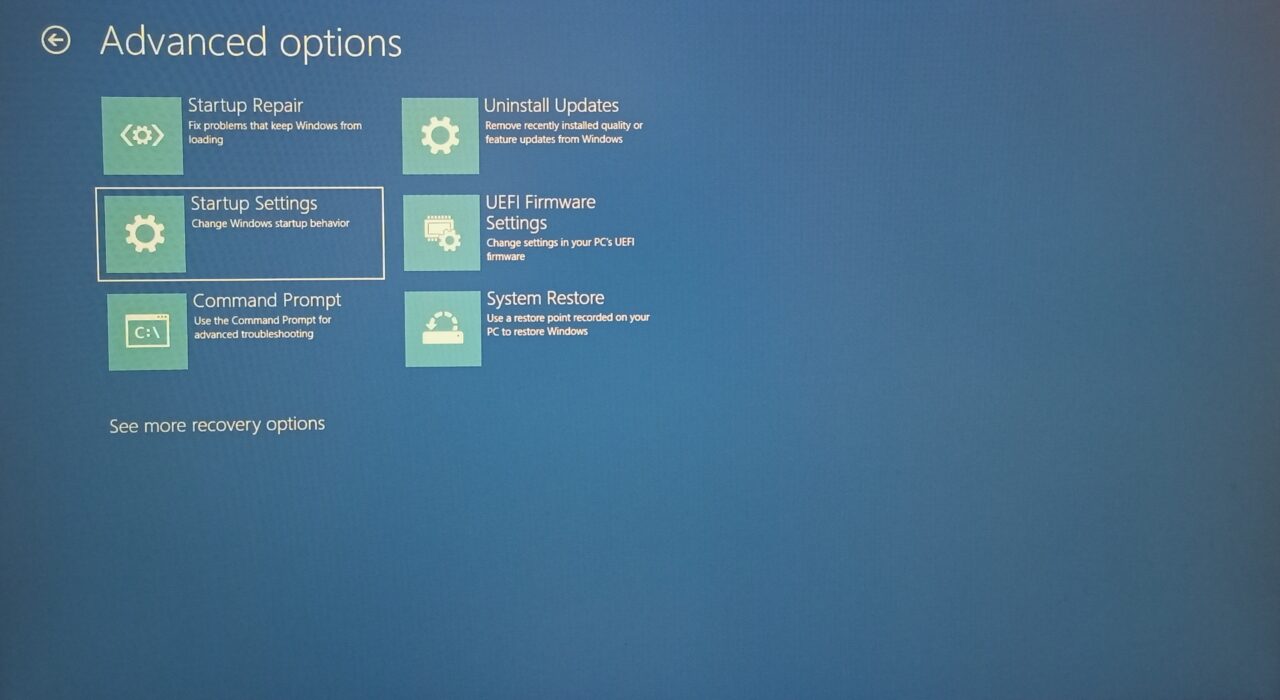
Choose “Advanced options” and press the “Enter” key.
Choose “Startup Settings” and press the “Enter” key.
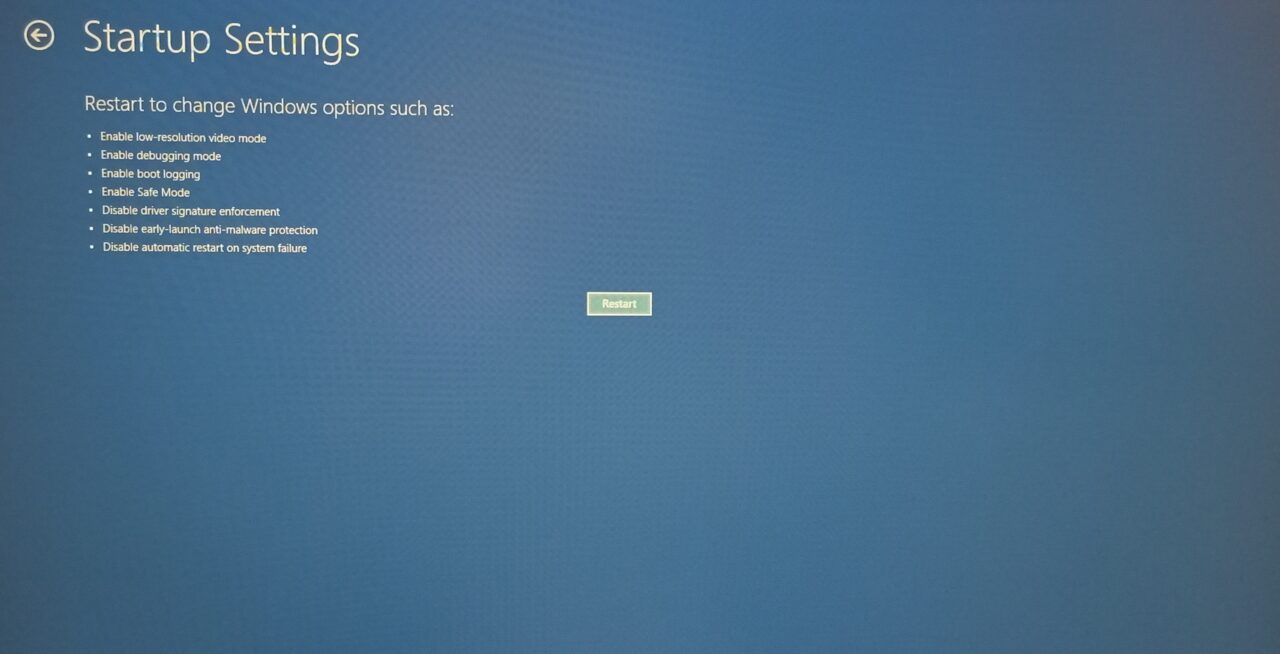
Click on “Restart” or, and press the “Enter” key.
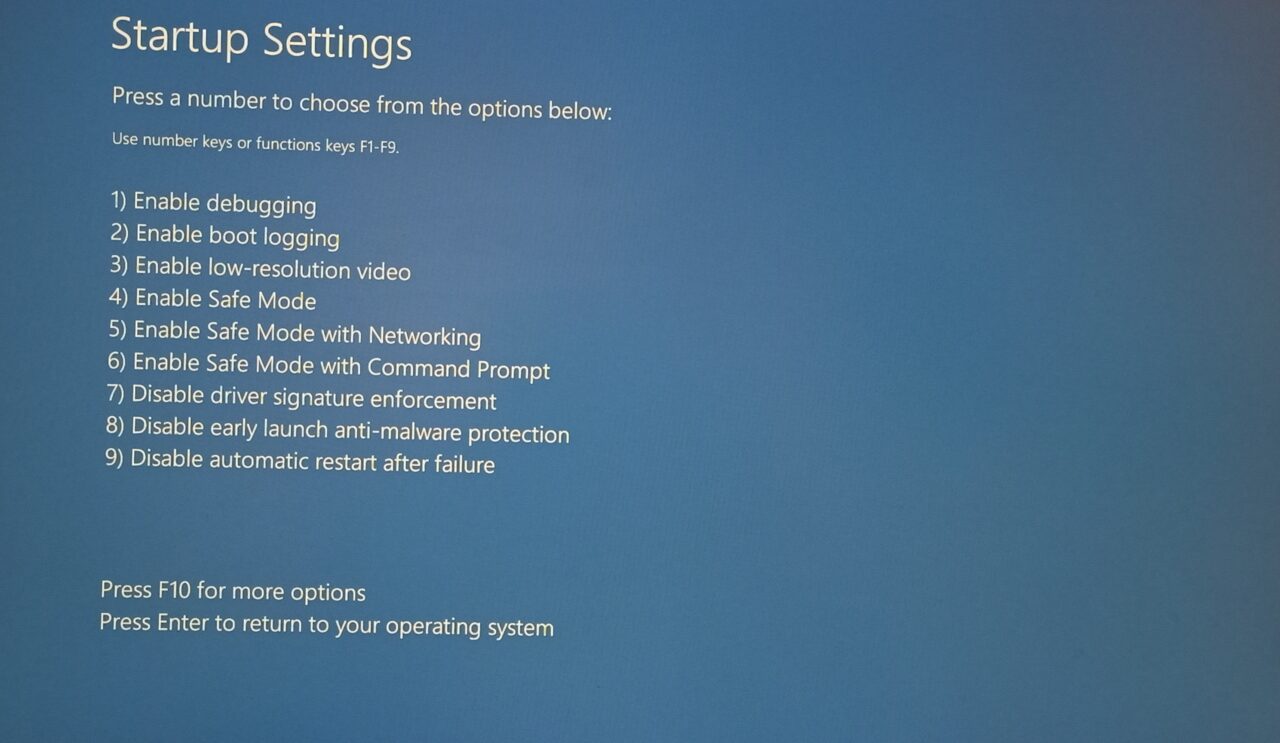
Press the 4 key to boot into Safe Mode.
If the PC fails to boot into Safe Mode, then the software is officially corrupted. Try System Restore to bring back the system to an earlier point.
#3 Uninstall GPU Drivers
Let me show you a way to uninstall GPU drivers, and this method will not show any mercy to the remnants. DDU wipes out the GPU drivers and folders from the system, which is a viable solution among power users.
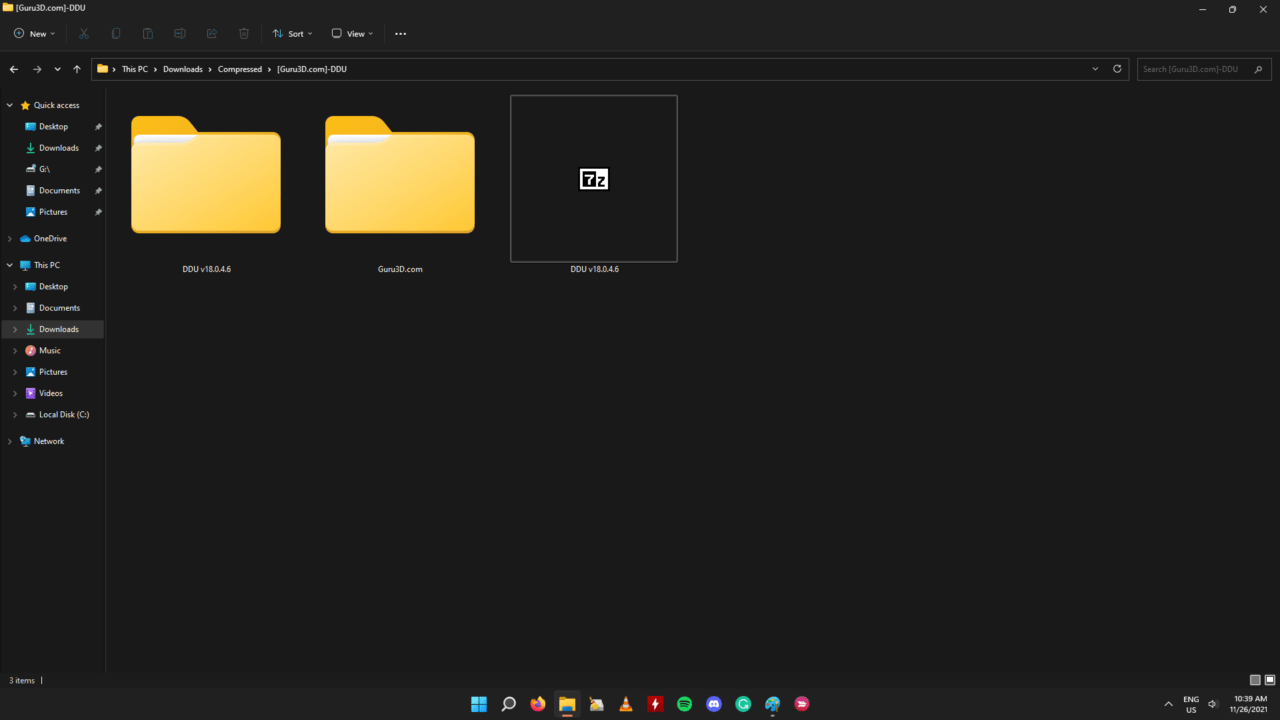
Extract the DDU folder and extract the 7ZIP file as well.
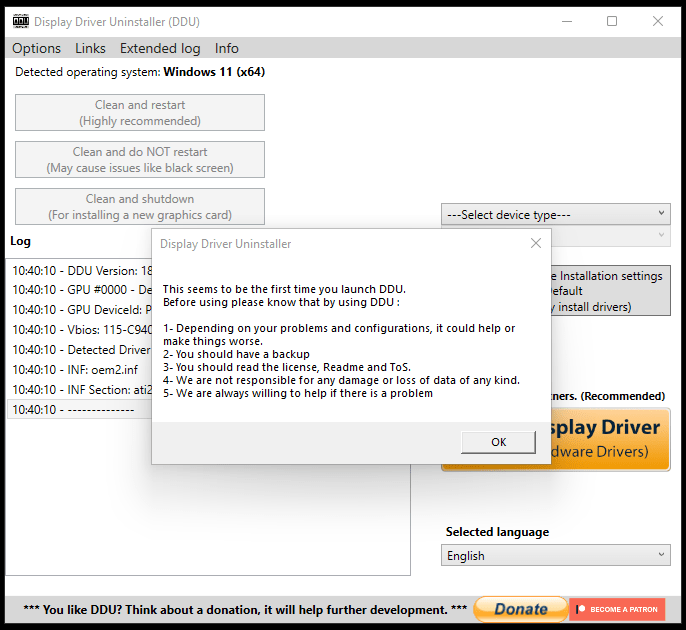
Run the program as administrator, then click on “OK” to proceed further.
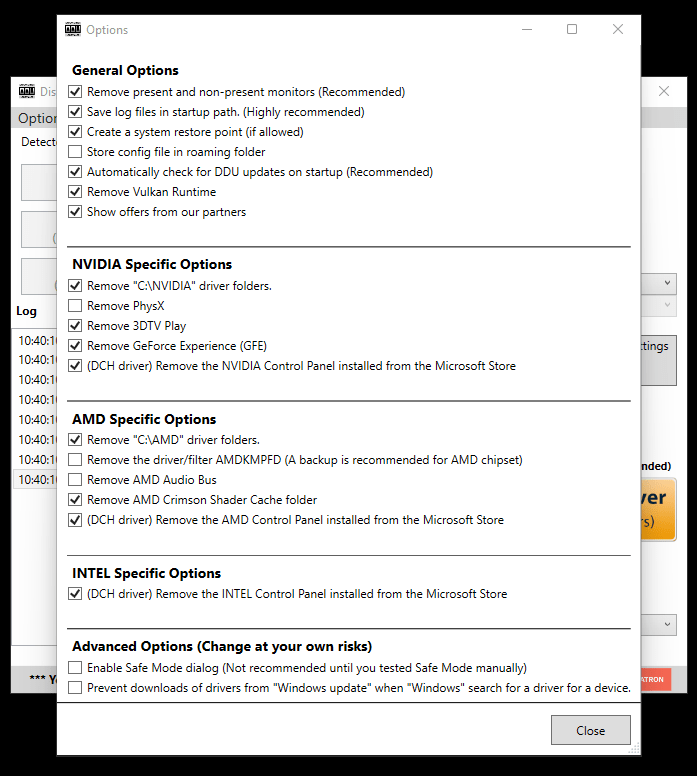
Click on “Close” and don’t change the default settings.
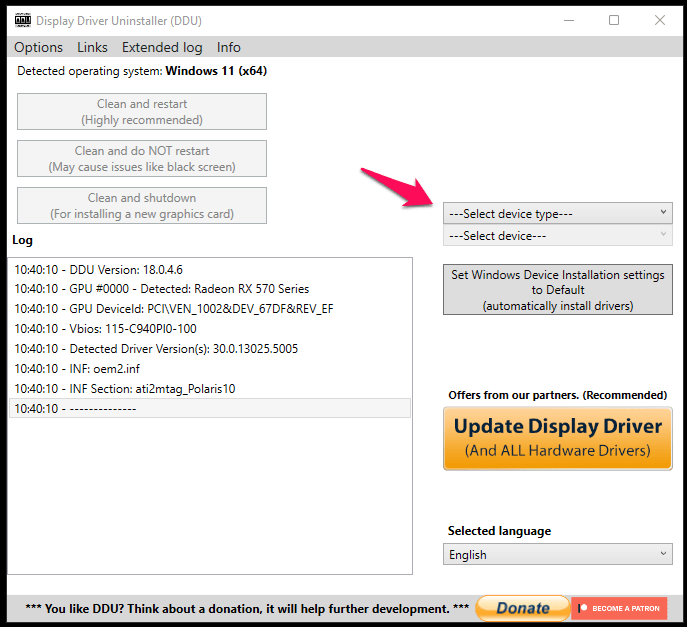
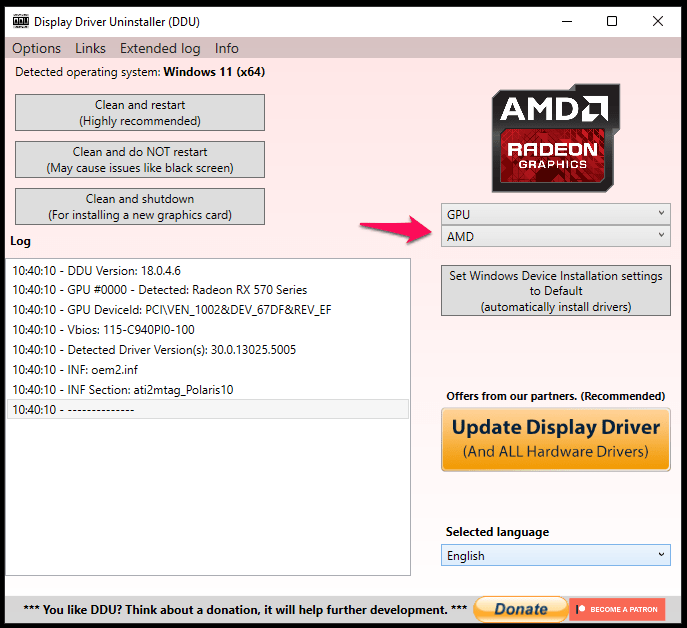
Click to “Select Device Type” and select “GPU”.
Choose “AMD” below.
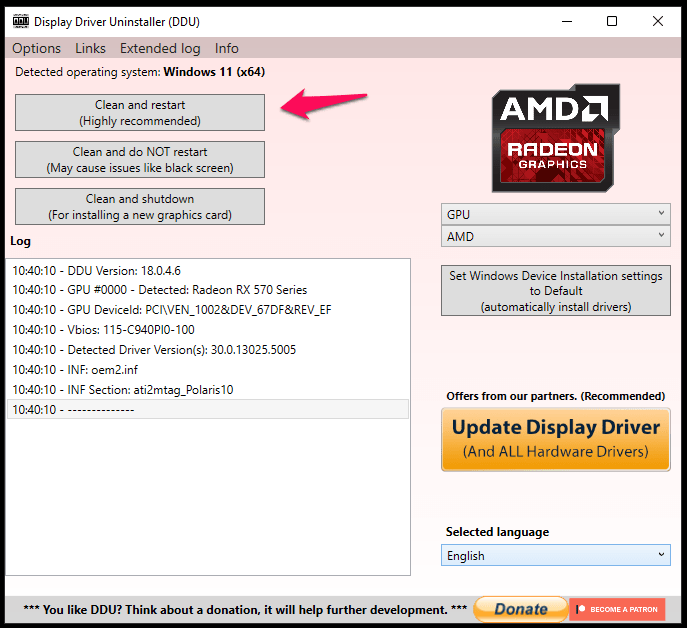
Click on “Clean and restart” and it is recommended by the DDU.
Display Driver Uninstaller will remove the GPU drivers and their supported components. Wait for five minutes for the entire uninstall process to finish, and it will land your machine into Windows 11 Lock Screen.
#4 Install AMD GPU Drivers
It’s time to install the compatible AMD drivers in the Windows 11 machine. You shouldn’t download the package from the AMD official site and go to the manufacturer site instead. The manufacturer has tested the GPU drivers in the motherboard or laptop to ensure maximum compatibility. Do not skip a beat and read the entire article because I’ve shown you how to stop Windows from updating the drivers automatically.
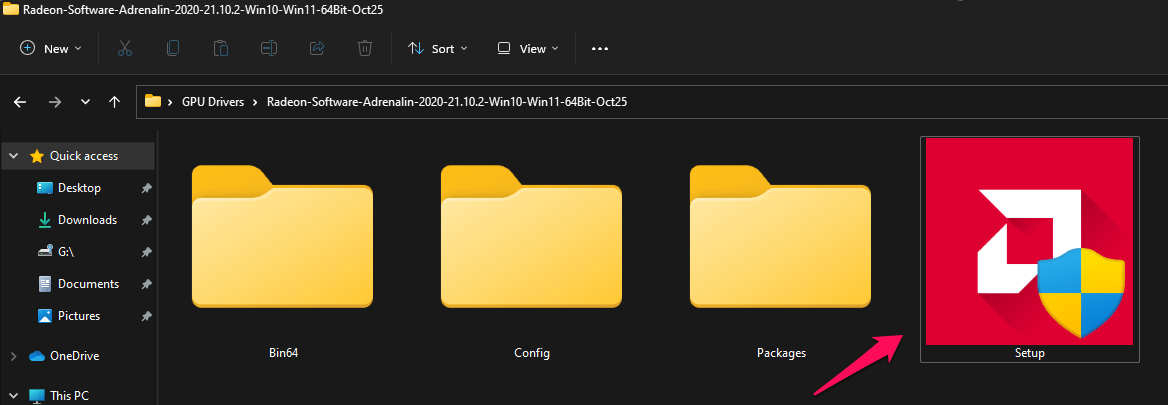
Run the AMD GPU setup file as administrator
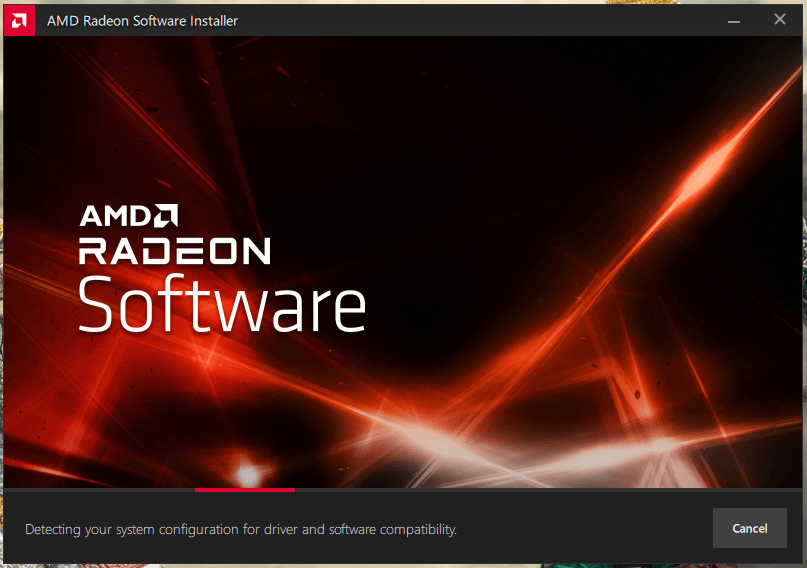
Let the executable file detect the AMD hardware.
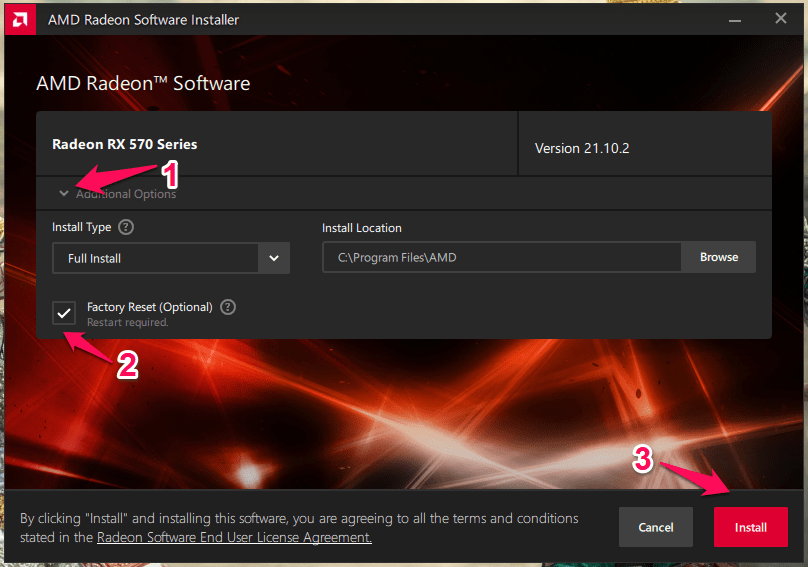
Click on “Additional options” to select “Factory reset”, then click on “Install”.
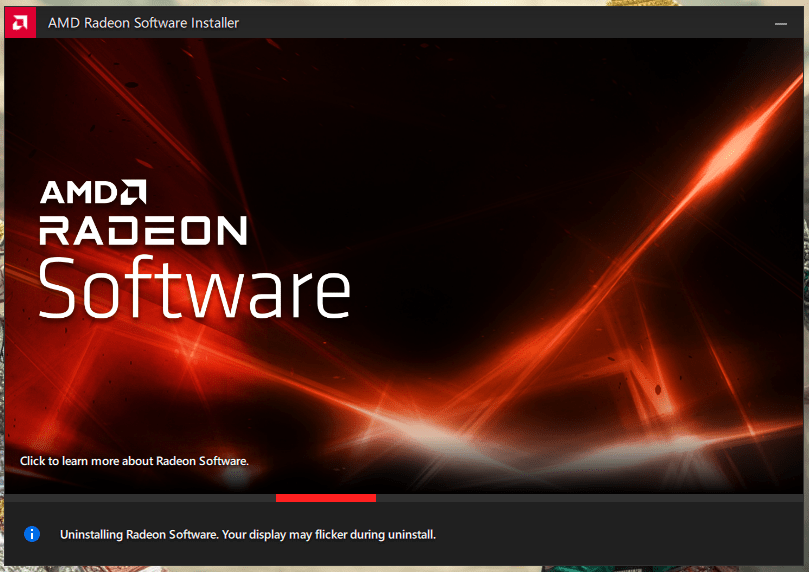
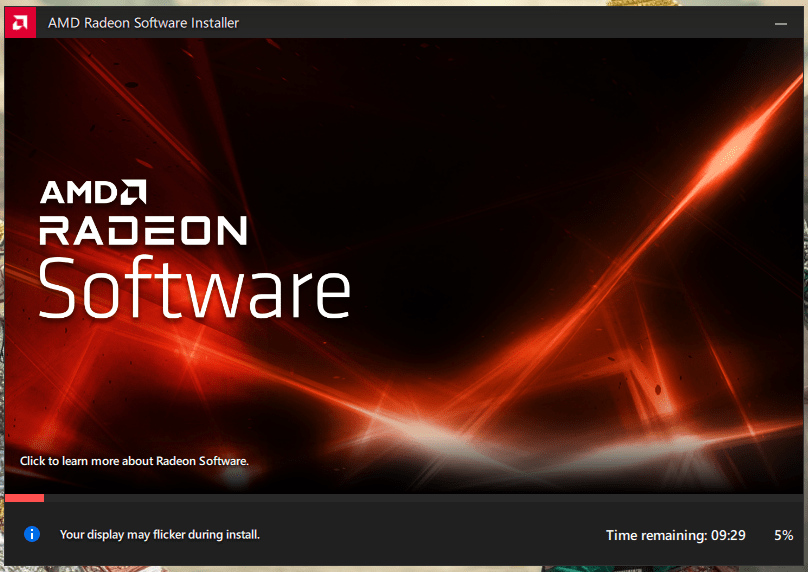
AMD setup file begins installing the drivers in the system.
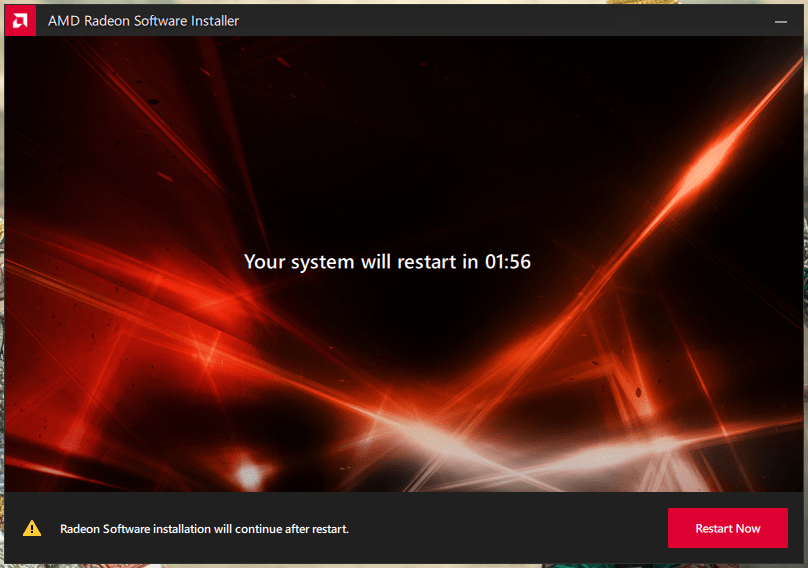
Click on “Restart now”, or you can take two minutes to save the work running in the background.
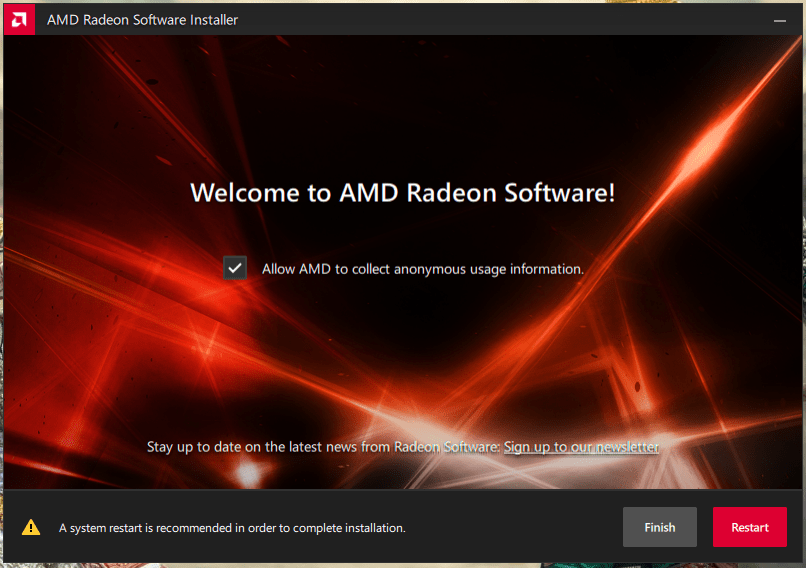
The driver setup wizard shows up after the PC restart.
Click on “Restart” to complete the installation.
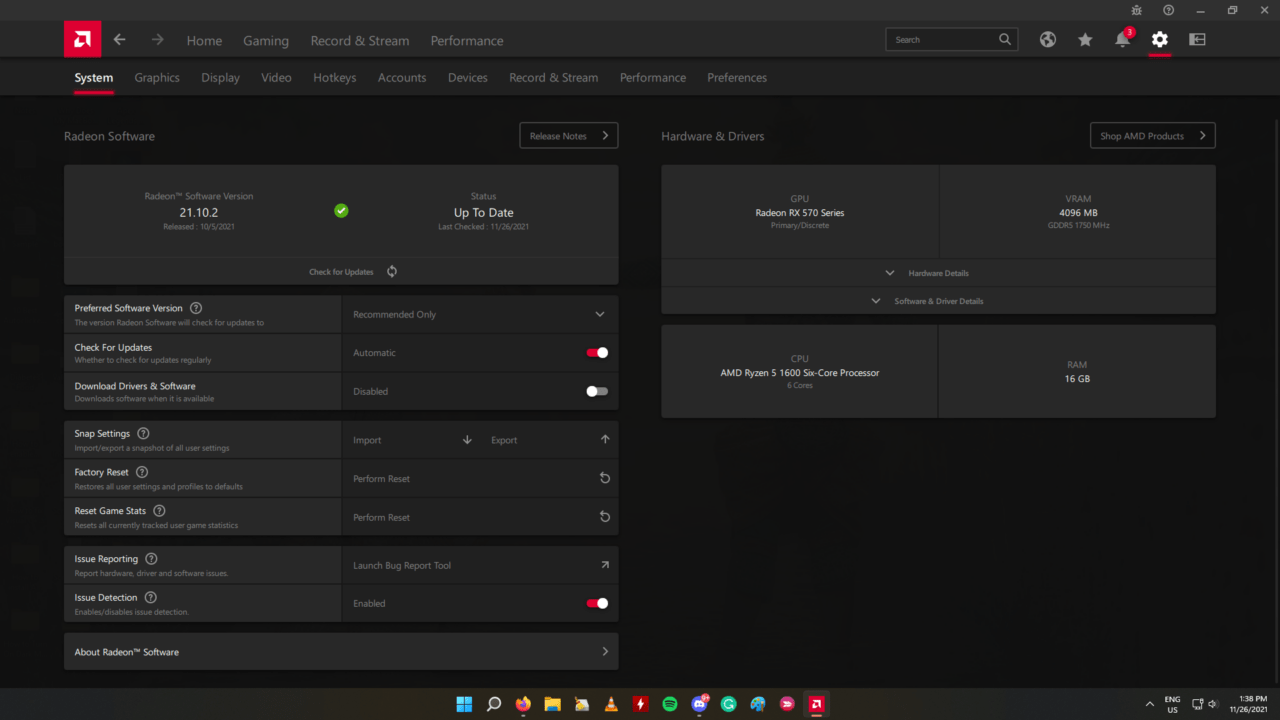
You can note down the working driver’s version.
New AMD GPU drivers are installed on the PC. You won’t face the problem again until or unless, there are hardware-level issues. Make sure to try the below solutions and prevent Windows Update from updating the GPU drivers.
How to Stop Windows Update from updating AMD GPU drivers?
Save the web page in the bookmarks, if you ever want to revert the changes.
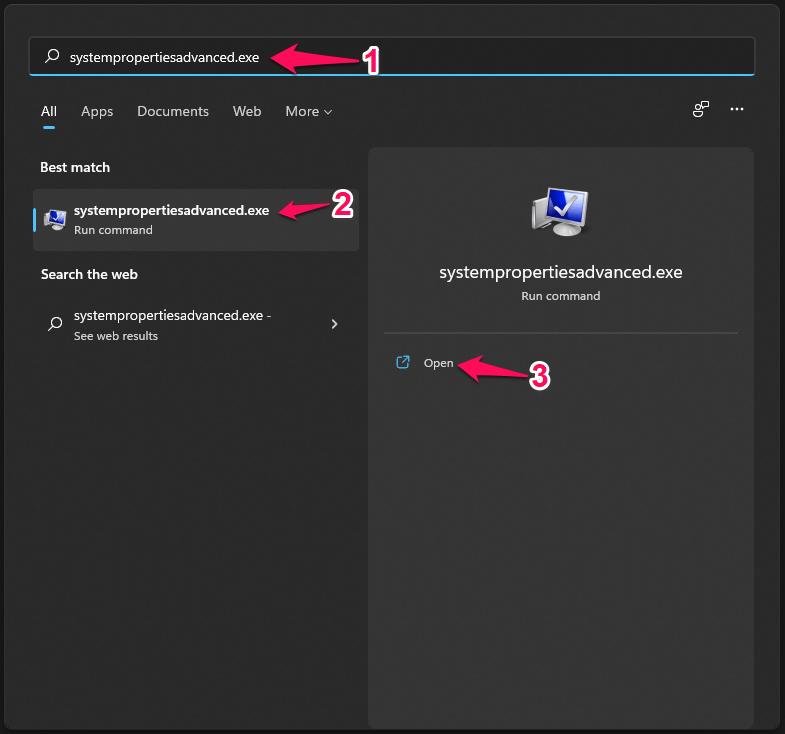
Press the Start button.Copy & paste the following command and press the Enter key to open it.systempropertiesadvanced.exe
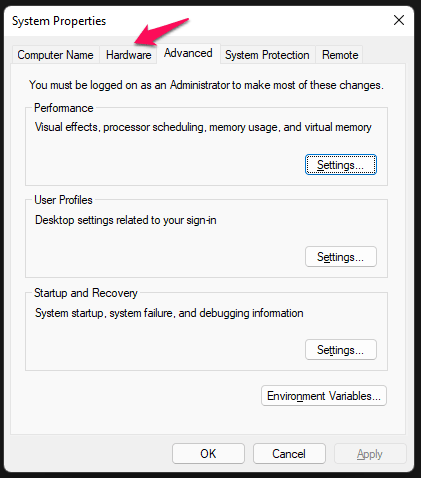
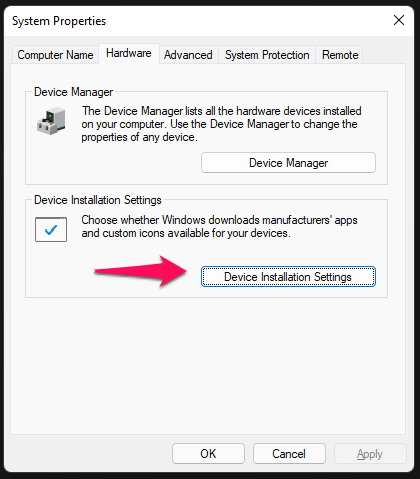
A window shows up on the screen and click on “Hardware” to continue.
Click on “Device Installation Settings” to continue.
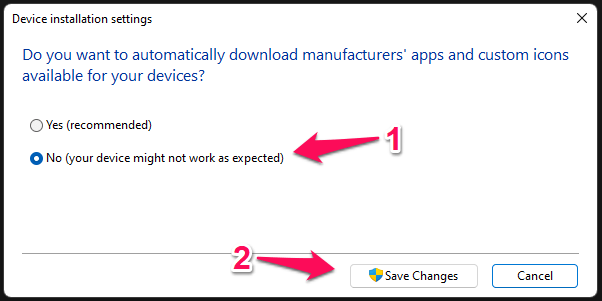
A new window appears and select “No (your device might not work as expected)”, then click on “Save changes”.
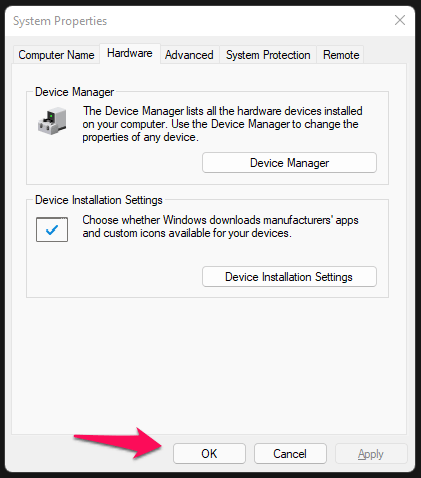
Click on “OK” to confirm the changes.
You should consider it a temporary fix and have to wait for Microsoft to fix the problem. They should allow the users to opt-out from auto-updates for individual components. Nonetheless, your GPU will work smoothly as long as you are installing the drivers from the motherboard manufacturer site or laptop manufacturer site.
Conclusion
You should handle the desktop or laptop with care and Windows 11 drivers are unstable, which caused the “The Version of AMD Radeon Software you have launched is not compatible with your currently installed AMD graphics driver” error. I suggest the readers switch back to Win 10 and wait for a year or so for Win 11 to have a stable operating system and drivers. Let us know what do you think about our AMD GPU drivers solution in the comment section below. If you’ve any thoughts on FIX: “The Version of AMD Radeon Software you have launched is not compatible” Error in Windows 11, then feel free to drop in below comment box. Also, please subscribe to our DigitBin YouTube channel for videos tutorials. Cheers!
